Sunday, November 8, 2015

Steampunk Halloween

This Halloween, I was commissioned to make some fun Steampunk costume pieces. I know it's a little late for Halloween with Christmas on the way, but I would love to post a few ideas for those of you who are suckers for DIY stuff.

Zombie Eye patch


This was made with a few scraps of cloth, eyelets, hoops, a monster eye and an eye patch. My friend was going to be a dead zombie pirate, and this worked perfectly. 
After sizing the cloth and putting eyelets in them, the rest of it came down to expert gluing. 
I found the eye at Hobby Lobby, they came in a few colors and sizes. I can't wait to make more with them.


Steampunk Headband


Start with a simple headband and a flower. I spiced things up with a few dark feathers and clock pieces.

To top off the awesome headband I added a jeweled spider. Makes for the perfect top piece to any costume!


Steampunk Armband


This awesome piece was made for my brother who was going to be a Steampunk man for Halloween. 

I got the shell of this arm band at Dollar Tree.


I wasn't much, but I liked the detailing on it. I knew this was a great piece to start with.

I painted with metallic paint and used some foam strips to make the top look a little more steampunkish. I also worked some old wires into the hand to look like a mechanical arm, and then I topped it off with old bullets that are placed to look like some sort of shooting mechanism. 

Under the arm, I took off the plastic bands and replaced it with fake leather. I glued it to one side and attached snaps to the other, so that it could be taken off easily.


All and all this cost maybe $6 for me to make and it looked totally awesome!
What's more, the armband came in a pair, so I have another one to play with!

It's amazing what you can do with some simple Halloween pieces. You should give it a try sometime. I'd love to see what you come up with. 

Sunday, August 23, 2015

Where the Magic Happens!

It was just the other day that I realized I had never showed my workshop where all my fun, creative projects happen. So I busted butt and cleaned it up for you guys, and mostly cause it hadn't been truly cleaned in a very...very long time.


Matchless Designs is based out of a small corner in my room, but trust me when I say that it is packed full of good things. A lot of these projects and organizational items you see on display are actually things that I made and some of them have tutorials!

My whole obsession with jewelry and the crafting world began about 6 years ago when I went to the store and couldn't find one accessory that I liked. So, I walked to the bead section and thought "Hmm. This doesn't look that hard". And I never looked back.
To say that I got sucked in is an understatement, it's all consuming!
But it's the funnest hobby I've ever had.

I've dabbled in a little bit of everything. Having grown up in a home where creativity was all around me (it runs in my family), I've tried my hand at sketching, cartooning, painting, sculpting, writing, jewelry, costuming, crafting and so much more.
Pretty much, anything I set my mind to, I set out to do! I have developed this theory that the more you use your creativity, the more you have. It's like a never ending fountain of ideas! And with so many learning resources around like Pinterest, You Tube and Google, how can you go wrong?

ANYWAY, back to my fun workshop.


Yeah I have a huge amount of beads and pretty much everything you could ever think of. I had to redecorate my totes so I didn't look like such a hoarder! haha


On my other shelves, all of my scrapbook, paper, office supplies, printer...all that good stuff. (Can you tell I love black and purple lol)


This is a fun project I made for all my jewelry findings, it makes finding things easy...get it?
Anyway, I took an old cookie sheet, Modge-Podged some fabric to it. Found these fun tins and secured them with magnets. 
It's cute and usable!

I have all sorts of stuff hanging on my walls, but this is one of my favorite projects that I did clear back in the day!


I feel that it's very important to have inspirational quotes where you can see them, to remind yourself of your goals. 
I made this out of an old board, a dollar store white board and some scrapbook paper. 

Well, there you have it, that's where the magic happens; my own little corner of creativity. Had I the room, I fill more and more shelves, but for now, my obsession is tamed to the corner haha

More fun posts to come!


Sunday, July 19, 2015

Steamfest 2015

Lots of fun to be had at SLC Steamfest this year.
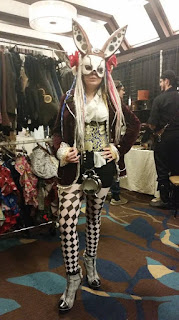
For my booth, my assistant and I decided that a theme would be fun and since I already had a rockin Ursula hat, our theme was Steampunk Little Mermaid!


I was Ursula (of course) and Blake was King Tr iton.

Sounds funny to turn Disney into Steampunk, but there were actually many Disney characters at Steamfest this year, I was surprised. Here are some of the fun faces!

Snow White, King Triton, Ursula, Beast (Human), Geston, Aurora

We were off to an excellent start the first day. My booth was a salvage ship wreck (under the sea theme, get it?)


 I had a lot of fun designing this chaotic booth. There was so much to see and everyone who came absolutely loved it. The base is made of old trunks and then crates, crates and more crates stacked on top. Pretty simple. Very beautiful.

 
 Learning from my mistake last year of not having any menswear, I made an entire section for gents and costume designers alike.
Pocket watches, Tie tacks, eye patches, guns, apothecary bottles, antique keys, you name it, the men had their pick of awesome additions to their costumes.

And of course I had some awesome masks there. I believe I've blogged a few of them before, if not, here they are in all their splendor!


Beautiful old trunks and new to Matchless Designs, GRAB BAGS! They were a major hit, especially with the kiddos. Gotta love a good surprise. 

My neighbors on either side of me were absolutely awesome. I was plugged right between Damsel in this Dress and Carols Custom Costumes. 
Let me tell you, those ladies were so much fun. I think one of my favorite parts about a convention is meeting all the people who do this kind of stuff for a living. They are such an inspiration. Feel free to look them up, they are well worth it!

So the second day was a little slower, and after a few hours in, tragedy struck! 
There was another Ursula at the convention!


She actually turned out to be really cool. We had to get a photo together and she was very impressed with my Flotsom and Getsom Eel Double Barrel gun!

You don't mess with Sea-folk!

There was so much to see and so many people to meet that it hardly seemed like I was working. 
It's all play!
Adventurers running around like crazies, death stalking his prey, mermaids in the pool, dueling, opera, masquerade, this year had a little bit of everything!

Well, now that I'm done gushing about all my fun, here are some more fun pics!
Enjoy and hopefully you'll consider coming by next year to visit my booth!


He made this gun the day before and I swear it weighed 100 lbs! I could barely lift it! But it was fun to see even people who can't get around so well enjoying Steampunk.


So long!


Saturday, June 20, 2015

Room Makeover...Finally!

I've been posting some fun DIY projects that I was making to redo my little sisters bland room. Well, I finally got around to actually REDOING her room!

It turned out fantastic, all thanks to the help of my Grandmother.
Here are some pictures of how all those DIY projects looked together.

BEFORE


What a mess!


AFTER


We chose some bright colors to bring the room some life since we weren't allowed to paint the walls.


It took a long time to get her room in tip-top shape, but we did it and she loved it!
Everyone was so impressed that my brother asked me to surprise him and redo his room as well...haha that is a project for another day!


Nothing like a job well done!


Friday, April 3, 2015

Ticket Stub Display DIY

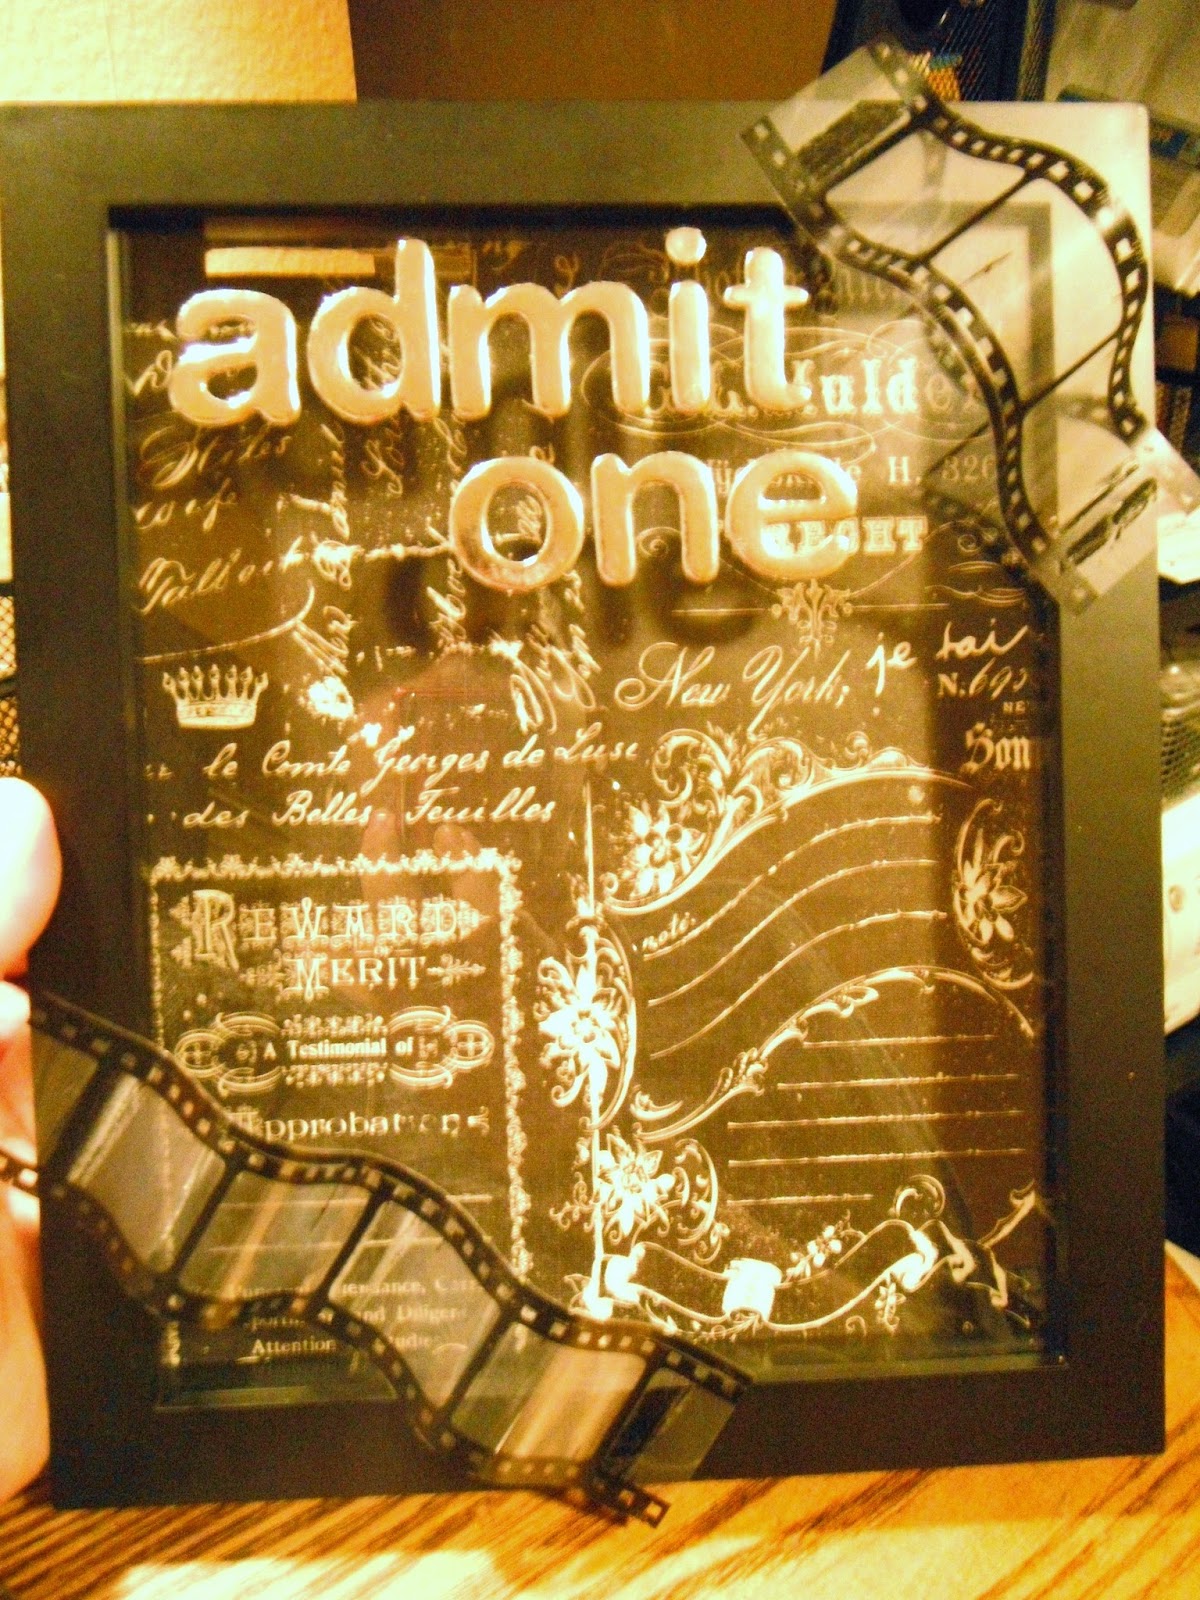
One of my good friends is a collector of ticket stubs, which she keeps in a small box. As a gift, I thought that a ticket display would be perfect for her (and also a fun tutorial).
So, this DIY is going to show you how to make a shadow box ticket stub display.


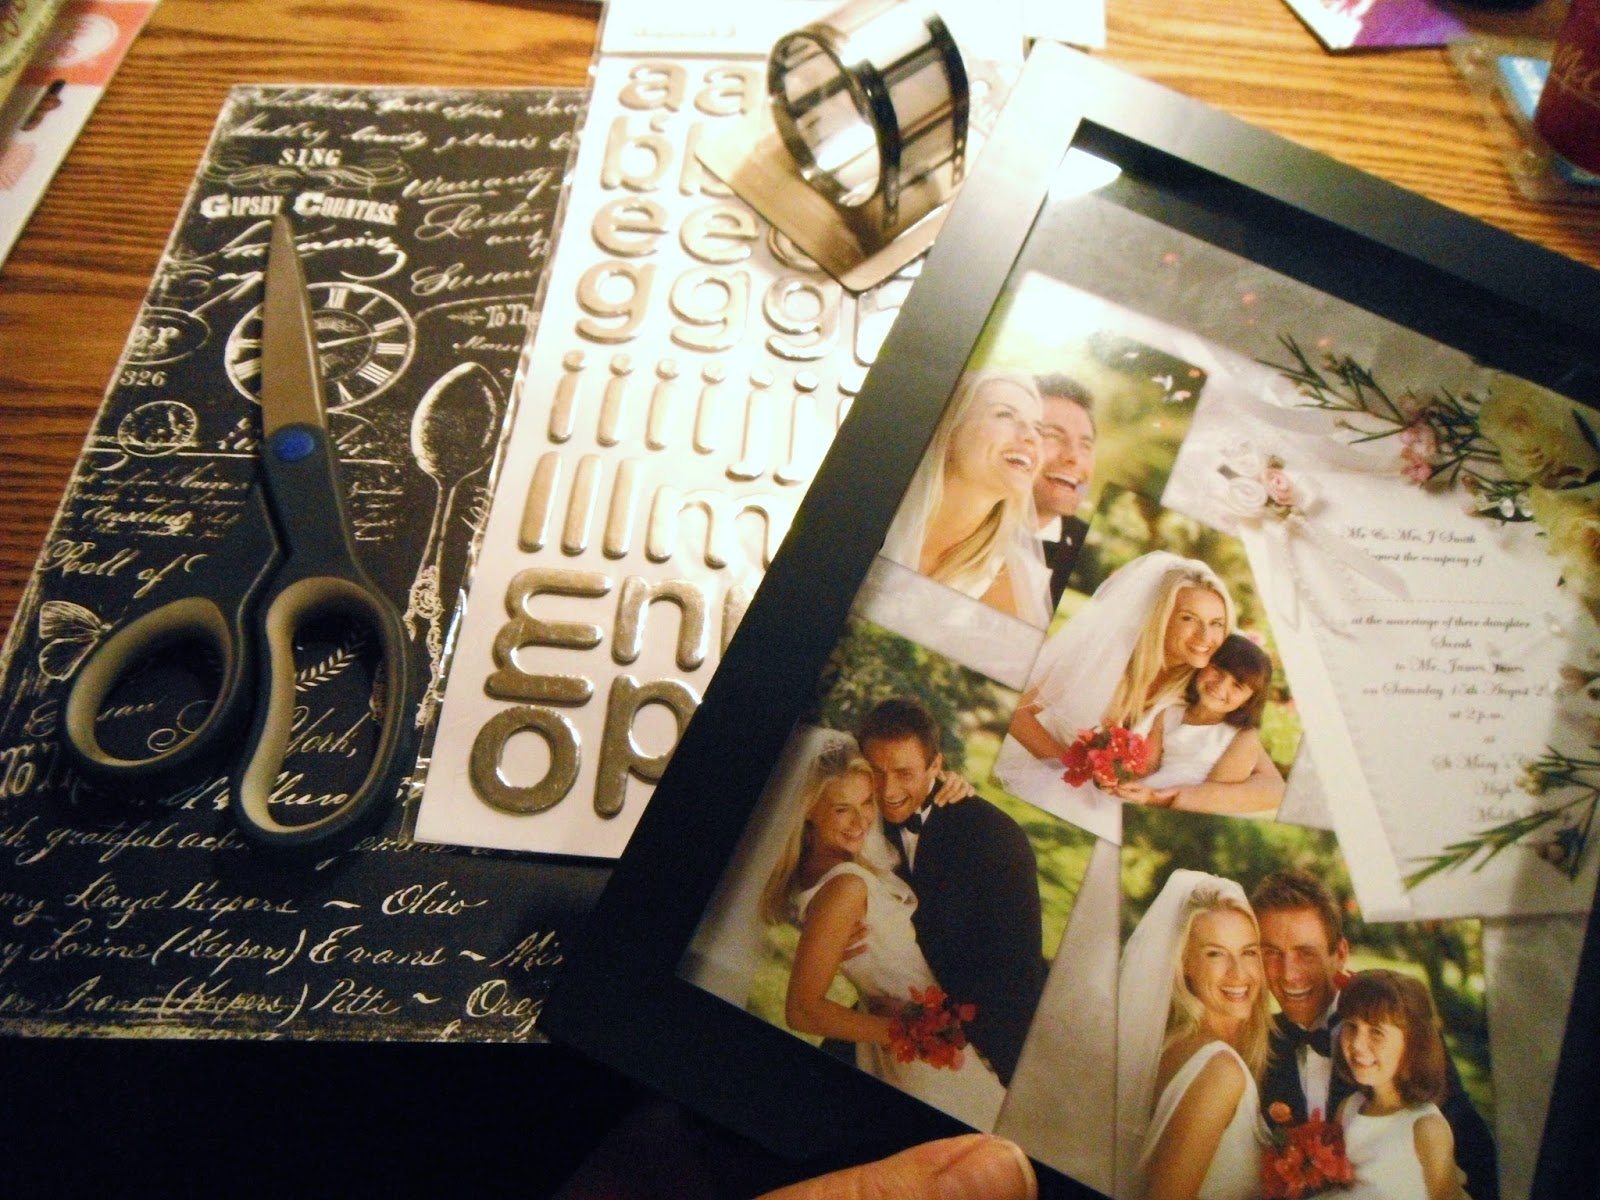
WHAT YOU WILL NEED:
Scissors
Pencil
Shadow box (size of your choosing)
Scrapbook paper (for background)
Letter stickers
Film strip (optional)
Glue (optional)


STEP ONE:
Take out the original picture in the shadow box
 and trace that onto your scrapbook paper with the pencil.
Cut it out.


STEP TWO:
Cut a small slit into the back wall of the shadowbox.


STEP THREE:
Trace and cut the same slit into the scrapbook paper.
(I left the original picture in between the cardboard 
and the scrapbook paper so that I could have 
an easy stencil in case I ever wanted to change 
the background of the shadowbox.)


STEP FOUR:
Put everything together.

(Optional film strip)
Cut a few fun lengths of film strip and glue it to the frame. 
(I did this because she saves movie tickets. These can be made to display all sorts of 
ticket stubs)


STEP FIVE:
Grab your stickers and spell something 
fun for the shadowbox.
Examples:
Admit one
Travels
Plays
Theater
Movies
Memories
Etc...


Pretty simple, don't you think? 
My friend absolutely loved this gift when I gave it to her and has started putting movie ticket stubs in it already. 
I think I'll make one for myself.
:)
Happy Crafting!

Sunday, March 22, 2015

Quotes Worth Hanging On The Wall

I've got another DIY home decor project for you!
I've been seeing fun ideas for DIY canvas quotes for your home and I thought that was perfect for the super secret sister project I'm working on. 
Have you seen the prices on some of those canvas quotes in the stores?
Yeesh.
Don't buy it when you could just make your own!


What you'll need:
Canvas (Whatever size and thickness you'd like)
Paint
Paintbrushes
Ribbon (For flat canvas')
Glue (For flat canvas')
Scissors (For flat canvas')
An inspiring, amazing, awesome quote!


STEP ONE:
Paint the background.
Painting the background of these canvas' was simple. 
First, I painted them a solid color (for example blue)
Then I put dabs of darker blue and white paint in various places on the canvas.
With my paintbrush, I swirled the colors around until it created an effect that I enjoyed.
That's just one idea, you can paint the background anything you like.
Solid colors are great also, very bold.


STEP TWO:
Write the Quote.
This may be tricky when you don't have any ideas for fun fonts.
I simply Googled "fonts" and copied those that I liked.
Don't be afraid to take your time on this step. 
I used a lite pencil first on the canvas to make sure I could fit everything, and then painted it.
Don't be afraid to have fun!
My quotes are all colorful because they are meant to go in a teen room, again, let your creativity lead you while designing your quote canvas.

Many of you will be done at this point.
Congrats! Hang it with pride.

However, if you're like me and bought the canvas' that were on sale and are completely FLAT, then you need to figure out just how you're going to hang these things on the wall.


STEP THREE:
Prepare to hang.
Like I said before, my canvas' were completely flat! How do you hang that on a wall?
Here's one idea.


(This is where your ribbon, glue and scissors come into play!)


Measure your ribbon to be the length of the canvas and cut it.


Grab your glue and apply to both ends of your ribbon.


Stick the glued ribbon to the back of your canvas, as if it were a handle to your purse.


TIP!
Glue at a slight angle.
When you hang your canvas, the ribbon will sometimes pucker if you glue it straight, so I suggest gluing your ribbons at a slight angle.
Trust me ;)
You can even test your ribbon angle by acting as if your finger is a nail and gently pulling on the ribbon before the glue dries.
Make sure to leave the canvas laying on something, you don't actually want to pull the ribbon off, you just want to adjust it!


AND YOU'RE DONE!
Pat yourself on the back for a job well done.

Imagine all the places you could decorate with some fun quotes!
And even better, you can make every one of them unique!
I LOVE IT.

I'd love to see some of your projects or hear from you if you have any other tips on how to hang flat canvas'.

See you next time!